Growing your own plants at home can be a rewarding and educational experience. With AquaSoil, a compact hydroponic system, you can start your hydroponics journey easily and efficiently. This article will guide you step by step to successfully carry out your first grow.
Step 1: Location Selection and Adding Water
Before starting with cultivation, it is important to select the right place for your AquaSoil system and prepare the water tank. Here’s how to do it:
- Location Selection:
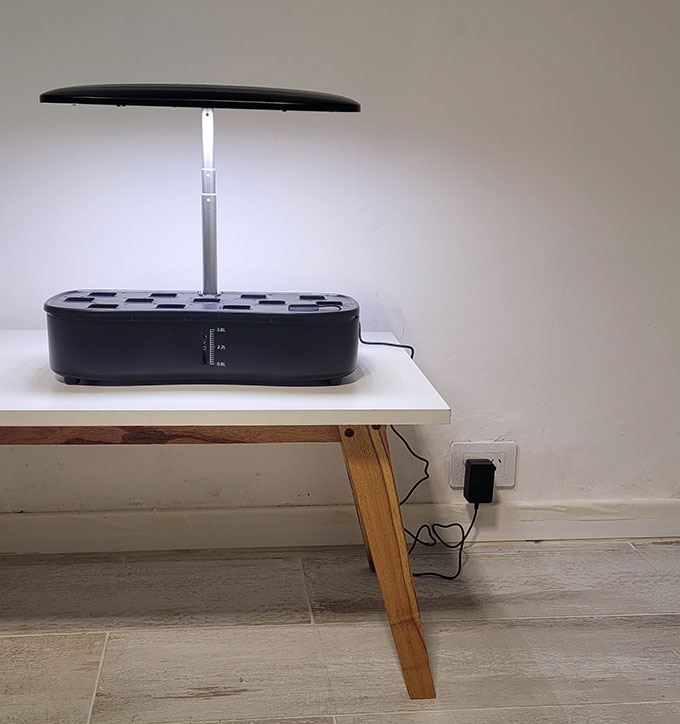
- Find a place where the temperature is stable and well-ventilated. This will help maintain an adequate environment for plant growth.
- Make sure there is a power outlet nearby to connect the AquaSoil system.
- The support base should be firm and level to avoid any instability of the system.
- Adding Water:

With the location selected and the water tank filled, you will be ready to proceed with seed selection and preparation.
Step 2: Seed Selection and Preparation
Once your AquaSoil system is assembled and ready to use, the next step is to select and prepare the seeds you want to grow. Here’s how to do it:
- Seed Selection:
- For your first grow, we recommend starting with leafy plant seeds, as they are easier and quicker to grow compared to fruiting plants. Fruiting plants often require more time, changes in nutrient solution, and even artificial pollination in some cases.
- By choosing leafy plant seeds, you can achieve faster results and manage the cultivation more simply. Some excellent options include lettuce, spinach, and basil.
- In our example, we will use basil seeds, but feel free to use any leafy plant seeds you prefer. This recommendation will allow you to gain experience and confidence before venturing into more complex crops.
- Preparing the Seed Sponges:
- Place one or two seeds in each sponge, pressing them gently to ensure they are in contact with the material.

Inserting the Sponges into the Baskets:
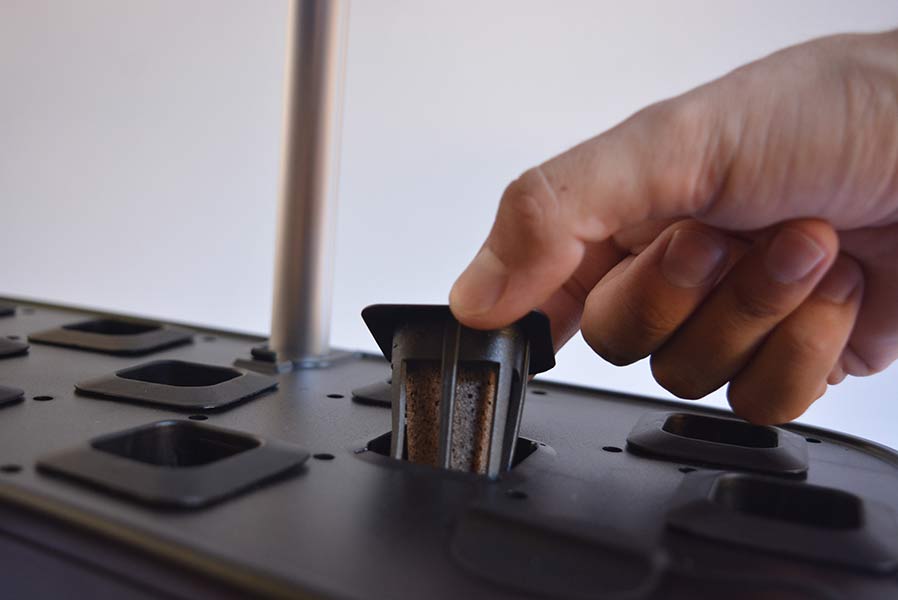
- Place the sponges with the seeds into the plastic baskets included with the AquaSoil system.
- Insert the baskets into the corresponding holes in the tank lid.
Placing the Germination Domes:
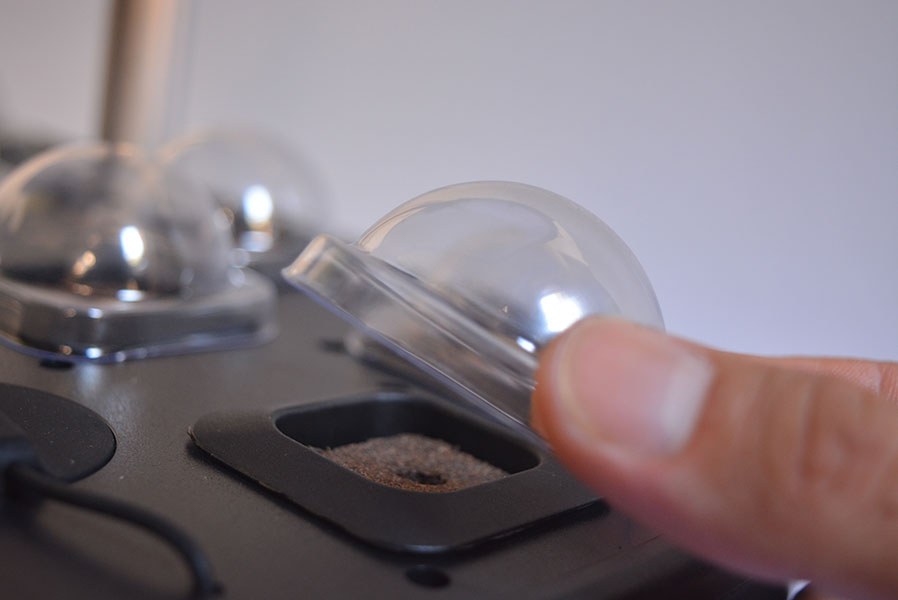
- To help maintain the necessary humidity for germination, place the plastic domes over each basket. This will create a greenhouse effect that will speed up the germination process.
Once you have completed these steps, you will be ready to move on to the next stage of your first grow.
Step 3: Germination and Initial Care
Now that you have prepared the seeds and the AquaSoil system is ready, it’s time to focus on germination and initial plant care. Follow these steps to ensure healthy growth from the start:
Adjusting the LED Light:
- Light is crucial for germination and initial growth. Set the LED light intensity to 50% and place the LED screen at an appropriate height to avoid overheating the seeds (15-20 cm above the tray is fine).
- Set the timer for the lights to be on for 16 hours a day and off for 8 hours, mimicking the natural light cycle.
Monitoring Germination:
- During the first few days, regularly check the seeds’ condition. Keep the germination domes in place to maintain humidity.
- Ensure the sponges stay moist but not soaked. If necessary, add small amounts of water to maintain an appropriate humidity level.
Initial Care:
- Check the seeds daily for signs of germination. Depending on the type of seed, this process can take between 3 and 14 days.
- Keep the environment clean and dust-free to avoid contaminating the hydroponic system.
Removing the Germination Domes:
- Once the seeds have germinated and the seedlings reach a height of about 2-3 cm, remove the germination domes to allow better air circulation.
- Ensure the seedlings receive enough light and adjust the height of the LED screen if necessary to accommodate their growth.
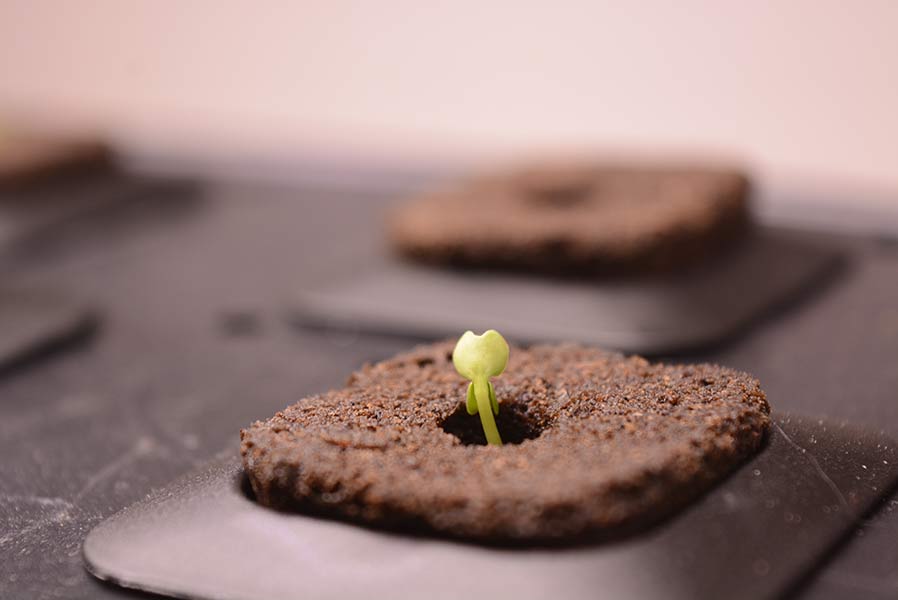
Following these steps, your seedlings will be on the right track to becoming healthy and strong plants. Now, you are ready to move on to the next phase of cultivation.
Step 4: Care and Maintenance of Growing Plants
Now that your seedlings have germinated and are starting to grow, it is essential to provide them with the proper care to ensure their healthy development. Here’s how to do it:
Adding Nutrients:
Once the seedlings have developed their first pair of true leaves, it’s time to add the nutrients.

Vegetal Plants
For all leafy plants, such as basil, lettuce, arugula, pak-choi, and kale, a basic vegetative feeding plan is used. This involves adding 5ml of Nutrient A and 5ml of Nutrient B to the water tank weekly, consistently. This mixture ensures that the plants receive the necessary nutrients for healthy and vigorous growth. Remember to maintain this weekly regimen to achieve the best results in your crops.
| Food | Germination | Week 1 | Week 2 | Week 3 | Week 4 | Week 5 | Week X |
|---|---|---|---|---|---|---|---|
| Food A | No food | 5 ml | 5 ml | 5 ml | 5 ml | 5 ml | 5 ml |
| Food B | No food | 5 ml | 5 ml | 5 ml | 5 ml | 5 ml | 5 ml |
Flower Plants
If the plant you are cultivating produces flowers or fruit, such as flowering plants, cherry tomatoes, or strawberries, it requires two different feeding methods. During the vegetative stage (when it has only leaves), follow the plan of adding 5ml of Nutrient A and 5ml of Nutrient B until the flowers start to appear. At that point, switch to feeding with 7.5ml of Nutrient A and 7.5ml of Nutrient B until the end of the harvest.
| Food | Germination | Week 2 (veg) | Week 1 (veg) | Week 3 (veg) | Week 4 (flower) | Week 5 (flower) | Week X (flower) |
|---|---|---|---|---|---|---|---|
| Food A | No food | 5 ml | 5 ml | 5 ml | 7.5 ml | 7.5 ml | 7.5 ml |
| Food B | No food | 5 ml | 5 ml | 5 ml | 7.5 ml | 7.5 ml | 7.5 ml |
Always refill the tank with water during the week as the water level decreases.
Seedling Selection:
- To favor the optimal development of your plants, we suggest leaving only one seedling per sponge. This ensures each plant has enough space and resources to grow uniformly.
- You can carefully remove the additional seedlings by hand or using small tweezers. The removed seedlings can be transplanted to a pot or final soil to avoid wasting them.
- If removing a seedling causes the remaining one to come out of the sponge, simply reposition it by hand. As the days pass and the roots grow, it will secure itself back in the sponge, so there’s no need to worry.

Monitoring Plant Health:
- Observe your plants daily for any signs of stress or disease, such as yellowing leaves, slow growth, or spots. These can indicate problems with light, water, or nutrients.
- Keep the cultivation environment clean and pest-free. If you detect pests, treat the plants with an appropriate insecticide to prevent them from spreading.
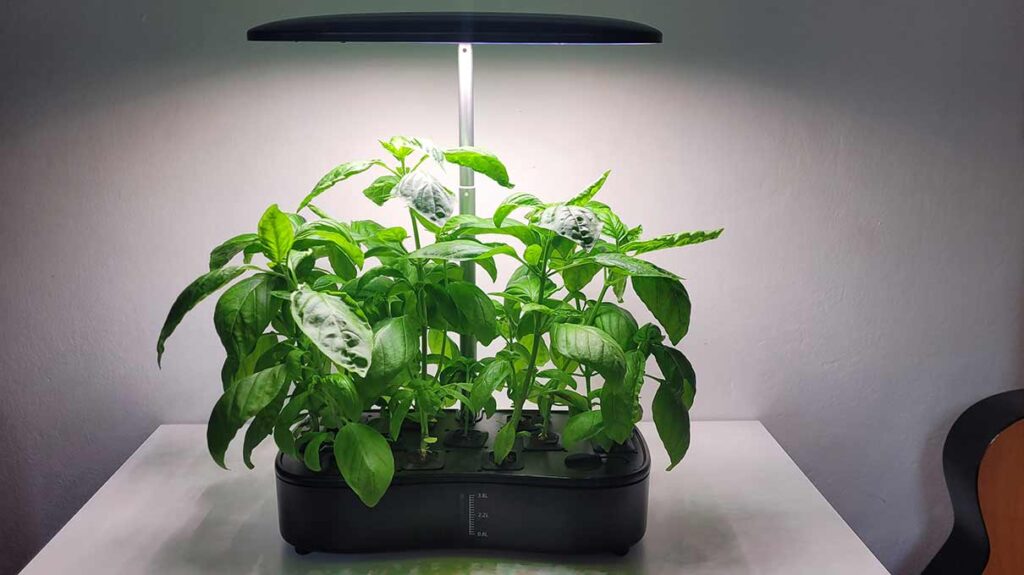
Pruning and General Maintenance:
- Regularly prune your plants to promote denser growth and prevent them from becoming too tall or unruly.
- Remove any dead or damaged leaves to keep the plants healthy and allow better air circulation.
Step 5: Harvest and Post-Harvest Care
After several weeks of growth and care, your plants will be ready for harvest. Here’s how to carry out this process effectively and what care to take post-harvest.
Determining the Harvest Time:
- Observe the signs indicating your plants are ready to be harvested. For leafy plants like basil, you can start harvesting when the leaves are adequately sized and before they start to flower.
- For other plants, such as lettuce and spinach, harvest when the leaves are well-developed and tender.
Harvesting Method:
- Use clean, sharp pruning scissors to cut the leaves or stems you want to harvest. Avoid pulling the leaves by hand, as this can damage the plant.
- Harvest the outer leaves first, allowing the inner leaves to continue growing. This will enable you to have a continuous harvest over several weeks.
Post-Harvest Care:
- Wash the harvested leaves with cold water to remove any residue or contaminants.
- Gently dry the leaves with a paper towel or salad spinner before storing them.
- Store the leaves in the refrigerator in an airtight container to keep them fresh for longer.
Maintaining the System after Harvest:
- After each harvest, check the overall condition of the plants and the AquaSoil system.
- If you have completely harvested a plant, clean the basket and sponge before reusing them for new seeds.
Additional Notes:
- Pump Noise: When the AquaSoil system starts to make noise, it means the water level is too low, and it is necessary to refill it so that the water pump remains fully submerged.
Following these steps, you will enjoy the fruits of your labor and keep your AquaSoil system in optimal condition for future cultivations.
